|
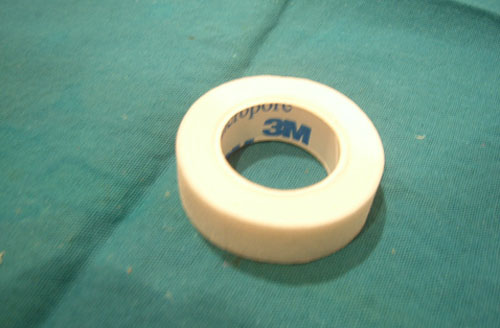
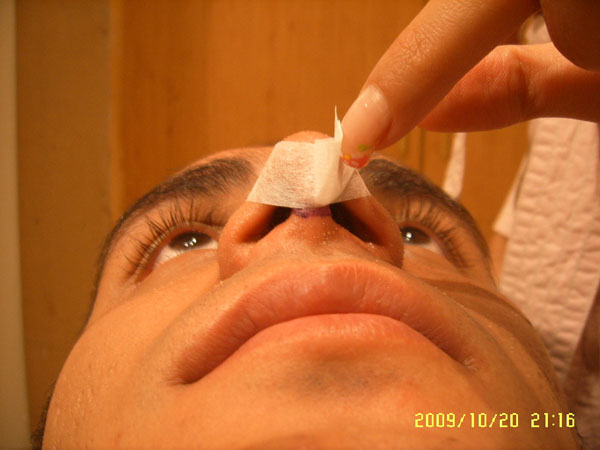
1) Tapes used for
preservation of
shape and form of
the nose should be
narrow and
preferably micropore
3M brand is
suggested. Notice
that all tapes have
same external look
and appearance, but
this does not mean
the same quality for
all tapes. The brand
on the central
circle of the tape
should be 3M.

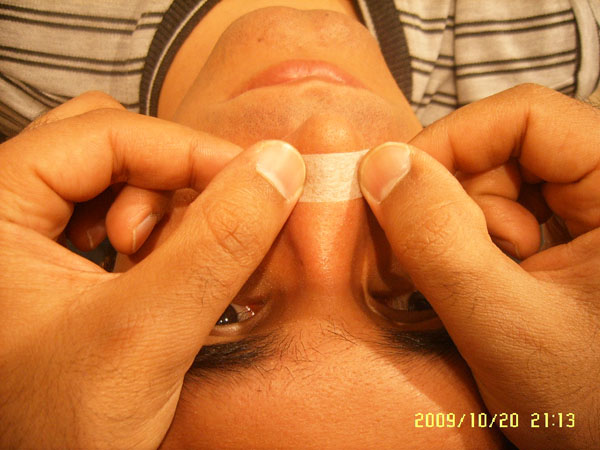
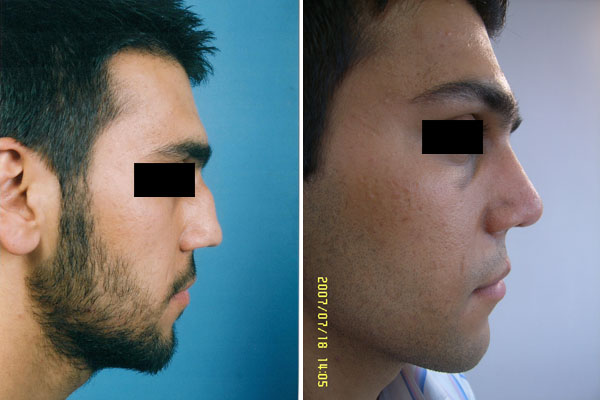
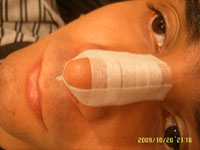
2) Nasal taping is
performed in three
layers. Before
taping clean the
surface of the skin
with alcohol to make
the procedure more
effective. Then
provide several 2-3
cm strip of tape.
Put the first layer
of the tape just
above nasal tip.
Remember never put
the nasal tip and
the subnasal
incisions (one or
three) under the
tapes.
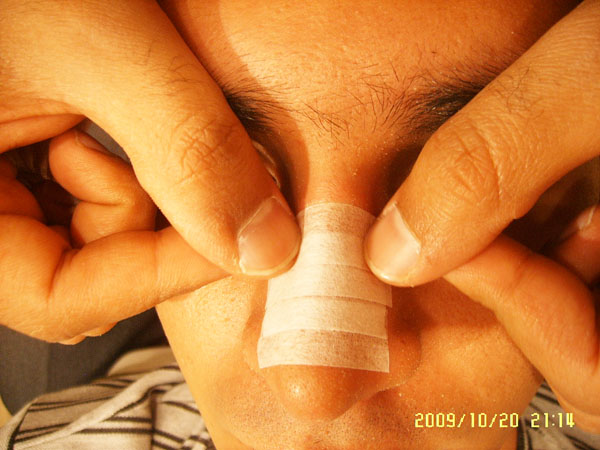
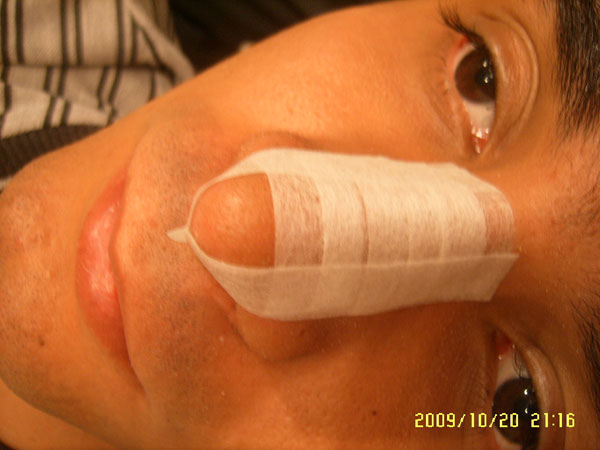
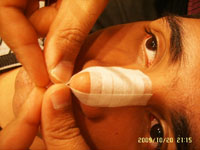
3) As you notice in
the figures, in the
first layer, the
tapes should have
the same size and
each tape covers the
other half by half.
If dorsal part of
your nose is very
edematous, the
middle part of first
layer of tapes
should put pressure
on this part of the
nose. But if less
edema exists and in
profile, a small
curve is present on
dorsal part, no
pressure on the
middle part of the
tapes is needed.


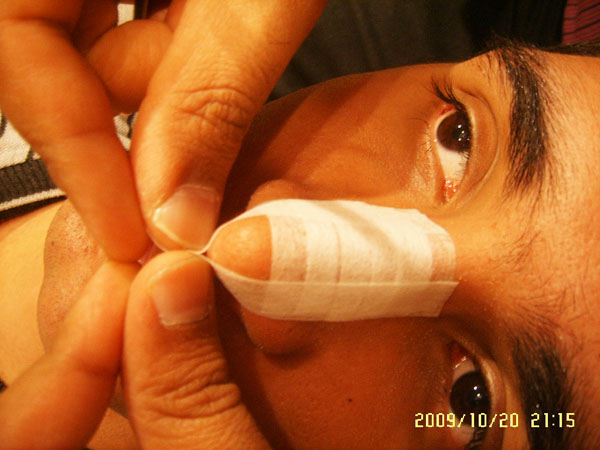
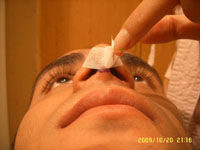
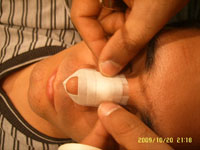
4) The second layer
of the tapes is
perpendicular to the
first layer and
consists of two long
tapes started from
comer of eyes and
finished at the tip
of the nose. Take
care no to cover the
incision on the
column between two
nares by putting the
axis of these tapes
upward. These two
tapes come together
below the nasal tip
and shrinks the tip.
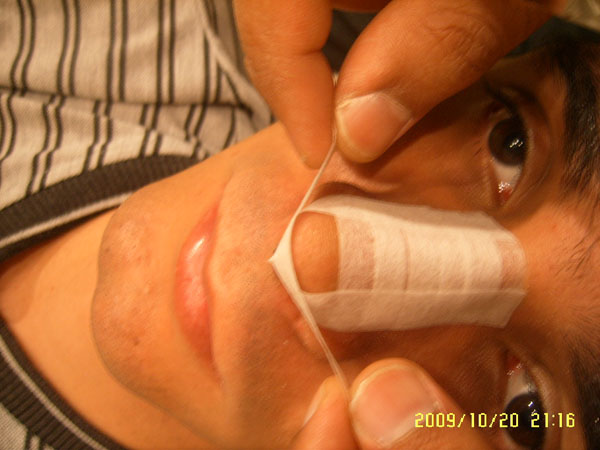
5) Still in the
second layer, rest
of tapes (now making
one end) are cut and
the remained end is
taped on itself with
another tape.

6) Third layer of
taping is the same
as the first layer
and causes
stabilization of
below layers.
7) When nasal
external and
internal splints and
sutures are removed,
you will learn how
to tape your nose.
At night of the same
day you can take a
shower and when your
tape is completely
wettened, you may
remove your tape and
continue taping by
yourself.
8) The criteria for
time of nasal tape
redressing is tape
loosening. If the
brand of your tape
is adequate and your
skin is not oily,
maybe each 2-3 days
you may need
tape-redressing. But
in cases of oily
skin, you may need
daily redressing.
9) When the tape on
your nose is
loosened and you are
determined to change
it, you ought to
wetten it (take a
shower or wash your
face) and in no
occasions you are
allowed to remove
your tape when still
dry. The vice versa
is not mandatory: it
is not necessary to
change your tape
when your face
becomes wet. You may
wash your face
several times per
day, but your tape
remains stable. The
criteria for time of
nasal tape change is
tape loosening.
10) In rare
occasions, your skin
might be allergic to
a special brand of
tape in which
occasion, your skin
becomes red
(erythmatous) and
edematous together
with itching. In
these circumstances,
you have to change
the brand of your
tape.
 |